

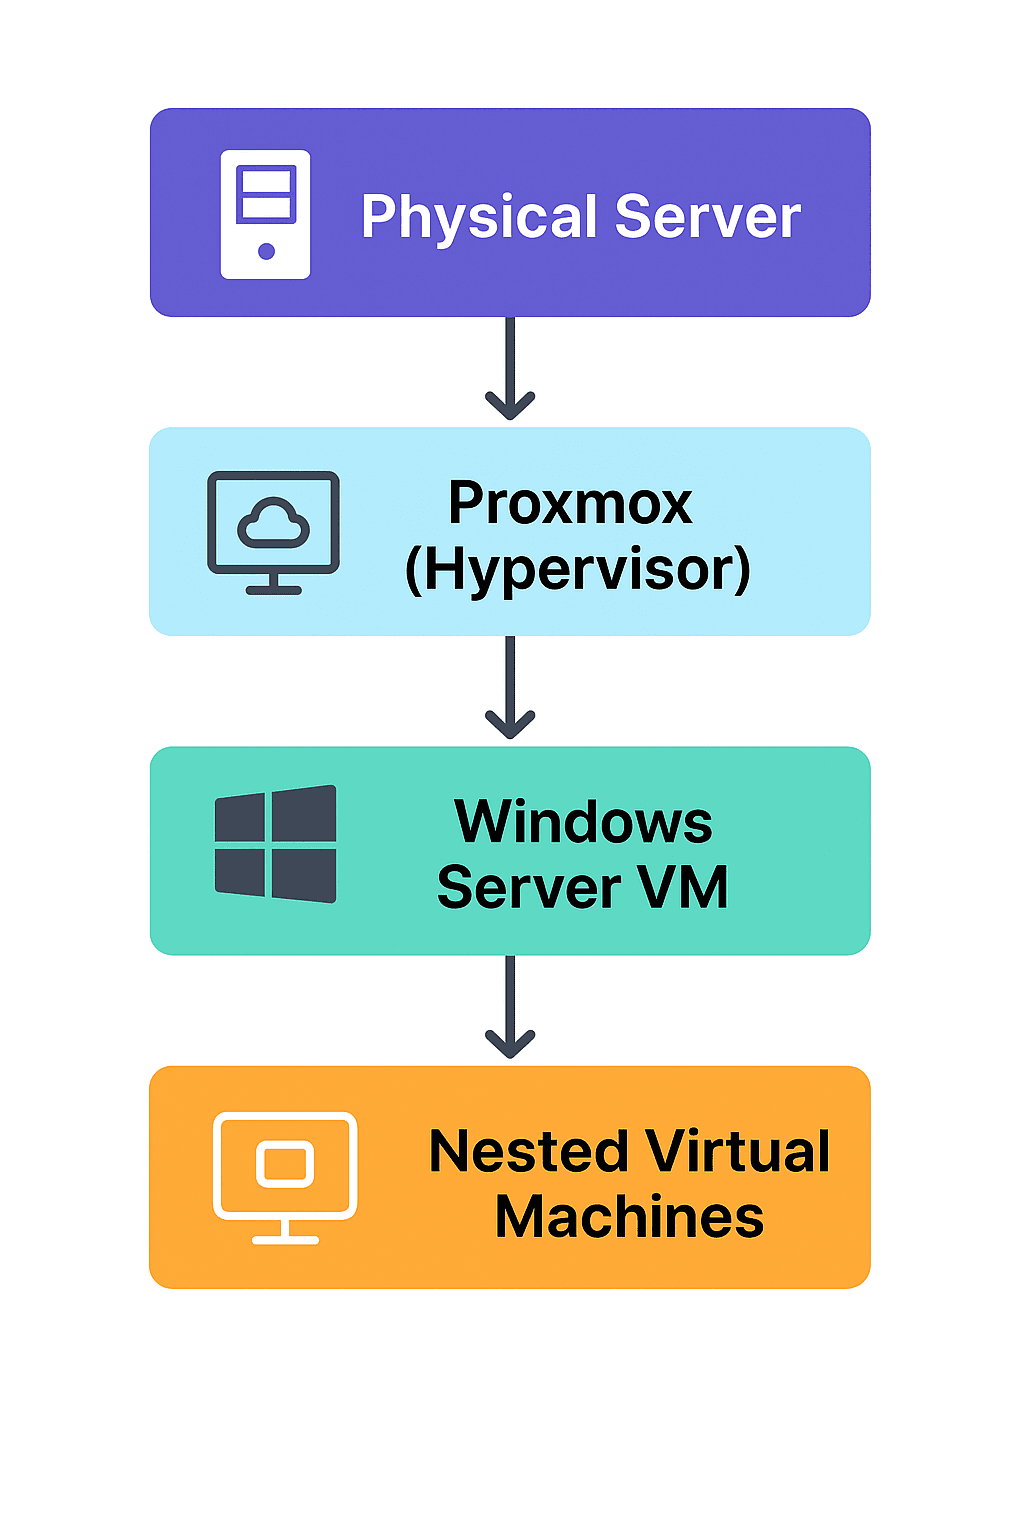
Nested Virtualization (Proxmox - Hyper-v)
Search for a command to run...
No comments yet. Be the first to comment.
If you've ever tried to email a PDF only to get bounced back with a "file too large" error, you know the frustration. Online PDF compressors exist, but most of them upload your files to someone else's
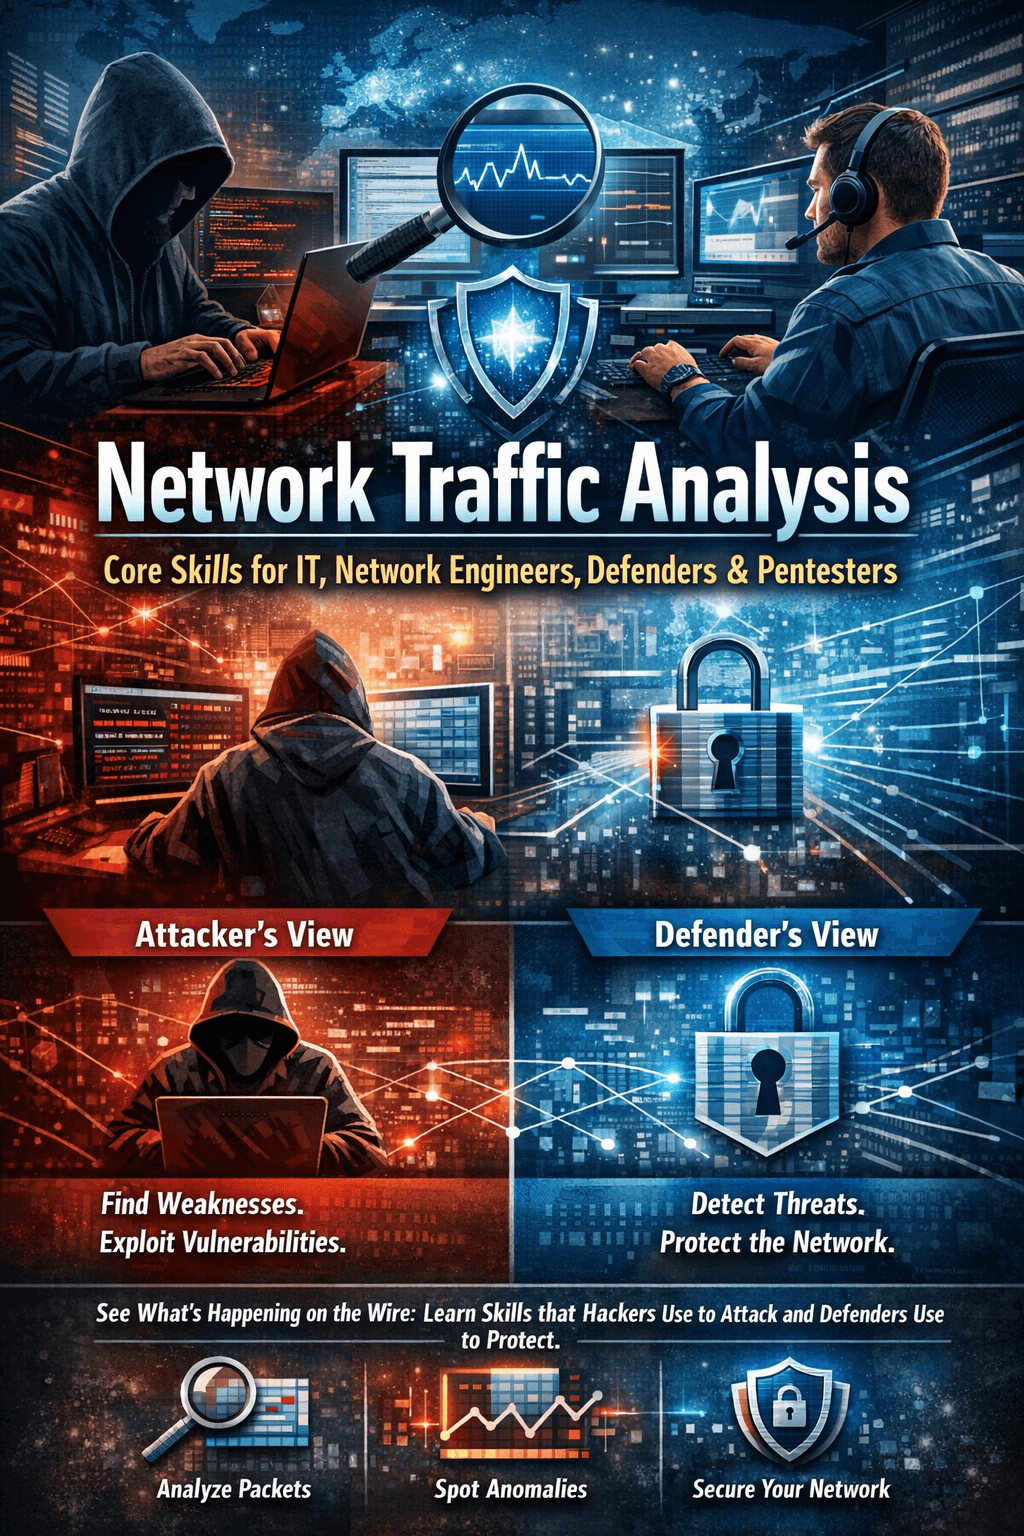
Core Skills for IT Technicians, Network Engineers, Defenders & Pentesters Introduction Every system tells a story.Not in logs.Not in dashboards.But on the wire. Every login, every file transfer, every scan, every misconfiguration — legitimate or mal...
🧩 How to Configure VoIP on a Zyxel Switch with Grandstream Phones Using a Voice VLAN In today’s networks, Voice over IP (VoIP) has become a core communication service for both businesses and labs. To ensure call quality and reduce network interferen...

A Quick Thank You Before diving in, a huge thanks to the offensive security community — from the creators of tools and labs to everyone sharing knowledge daily. Without this spirit of collaboration, many of us wouldn’t have learned how deep and fasci...

Imagine popping open a fresh, fully-configured pentest environment in seconds — with every tool you need, zero dependency hell, and the confidence that your host stays clean. That’s the promise Exegol delivers: not another clunky distro to install an...
On this page
Virtualization has completely transformed the way we build, manage, and experiment with IT environments. From running multiple operating systems on a single machine to powering entire enterprise infrastructures, it has become a cornerstone of modern computing.
But what if you could take it one step further? Imagine running a hypervisor inside a virtual machine — essentially creating a virtual lab within another virtual lab. That’s exactly what nested virtualization is.
Nested virtualization opens the door to building complex environments without needing racks of servers or expensive hardware. Whether you’re a student preparing for certifications, a penetration tester building attack labs, or an engineer testing cloud workloads, nested virtualization provides the flexibility to experiment freely while saving cost and space.
In this article, we’ll break down what nested virtualization is, its benefits, limitations, and how you can set it up in different environments like Proxmox and Hyper-V.
At its core, nested virtualization is the ability to run a virtual machine (VM) inside another VM by enabling hardware virtualization extensions (such as Intel VT-x or AMD-V) to pass through to the guest hypervisor.
Normal virtualization: Your physical machine runs a hypervisor (like Proxmox, VMware, or Hyper-V), and on top of that you run VMs.
Nested virtualization: One of those VMs also runs its own hypervisor, which can then host more VMs inside it.
A simple analogy: it’s like putting a smaller set of Russian dolls inside a bigger one. Each doll (VM) can contain another, all while relying on the outermost physical host for resources.
If you’re studying for certifications like Windows / Linux administration, Setting up for penetration testing certification : CRTP, CRTE, CRTO nested virtualization lets you create realistic practice labs without extra hardware.
Red teamers and penetration testers can simulate complex enterprise environments (multi-domain forests, pivoting paths, AD labs) all on a single server.
Developers and sysadmins can test new tools, simulate cloud environments, or spin up temporary labs for projects without needing to reconfigure bare-metal servers.
Why buy more servers when you can use one well-provisioned box? Nested virtualization stretches your resources by allowing multiple test environments in parallel.
Nested virtualization is powerful, but it’s not perfect.
Performance Overhead: Every extra virtualization layer consumes CPU and RAM, so workloads may feel slower.
Hardware Demands: You’ll need a CPU that supports Intel VT-x or AMD-V, and enough RAM to handle multiple VM layers.
Compatibility Issues: Not all hypervisors handle nested virtualization equally. Some require special tweaks (like enabling KVM on Proxmox or exposing virtualization extensions in Hyper-V).
Networking Complexity: Routing VLANs, NAT, and bridging through multiple virtualization layers can be tricky.
For production workloads, bare-metal virtualization is better. But for labs, nested virtualization is often the most practical option.
🖥️ Proxmox → Windows Server → Hyper-V → VMs
First install Proxmox on a computer as main operating System, if you don’t know how to install proxmox refer to any youtube video and follow up to get that part done
Once you have your proxmox server ready, let’s dive into the setup
Login to proxmox using the server IP and port : https://server-ip:8006
On the proxmox web interface click on Create VM

add a name for your Virtual Machine and click next

In the next tab use the option that fit you to install the ISO in my case I have the ISO file I leave it as default and insert the ISO in the ISO Image section then select Microsoft Windows for Guest OS Type and Version hit Next

Next tab choose the options below

NB: change EFI Storage and TPM Storage to your location on Proxmox. Then click next
Next tab , give at least 80 GiB for the disk space, chose the Bus as SATA or VirtIO Block and check SSD enumlation for better performace, storage is always your storage on proxmox for your VMs, click NEXT

I the bellow tab that’s where the crucial part is happening, for better performance allocate 2 cores to your VM, and select host on the CPU Type if Host is not selected you will get an error message later , that’s gonna stop you to create your VM on Hyper-V. Then hit NEXT

Allocate a minimum of 8 GiB, then NEXT

Next tab is where you have to configure your networking information for the VM, on thing to note is that the Model of the NIC must be E1000 or VirtIO(Paravitualized), if you have vlan setup in you network you can put the VLAN-ID in VLAN Tag. Then NEXT

and the NEXT tab you just have to click Finish.
Now your VM is ready click on the left side Folder View —> Virtual Machine Click on you VM to start it

Click on Console to have access to the VM interface
If you have trouble for your ISO to boot go on the Option below Console select Boot order and make sure the ide2 in #1 then click OK

Go back to Console click Start Now
During the boot start repeat that : mouse (right click + ENTER)

Follow the steps to install Windows server or refer to that Article : lnstall Windows server 2022
Once you have your Windows installed and ready, now we can proceed with the next step to prepare our Server for Nested Virtualization.
Windows server 2022 has a role called Hyper-V you can also find it in some windows client such as the Pro version
Let’s install Hyper. Go to Server Manager. On the top right click on Manage —> Add Roles and Features

In the page that open click NEXT

Click NEXT 2 times until you get the page below, where you will have to select the roles and feature to install, in our case Hyper-V, then click NEXT

Leave next page as default click Add Features then click NEXT
Next page leave default unless you need extras parameters click NEXT —> NEXT
choose your network adapter click NEXT

Next page leave default click NEXT —> change VM disk and file location if needed otherwise click NEXT
Select case to restart server after role installed, click YES and click INSTALL

After server restart go to search bar type : Hyper-V and click the Hyper-V Manager feature

Now we have Hyper-V on our Server Let’s create a VM

To create a VM, right click on the Server name in Hyper-V —> New —> virtual Machine

In the next page click NEXT

Give a name to your Virtual Machine —> change default location or leave as default —> click NEXT
Below chose generation type —> Generation 2 —> NEXT

Allocate memory to your VM —> 2GB minimum —> click NEXT

Configure Network, you can choose Not Connected and create a virtual switch later to attack your VM to it or just choose your Host VM network adapter just for demo purposes. Click NEXT
Allocate disk space to your VM and click NEXT

choose your installation media, here ISO file
Download ISO file here: Windows server 2022 ISO

Then click NEXT then FINISH
Now you have your VM created, select the VM and under the VM name on the right side click start or double click the MV name then click start.

Change the boot order Under VM name on the right side click on settings —> Boot firmware, make sure the DVD Drive is on top
During the boot start repeat that : mouse (right click + ENTER)
Follow the steps to install windows server 2022 or read this article: How to install windows server 2022
Nested virtualization is not just a lab toy — it solves real problems:
Active Directory Labs: Multi-domain, multi-forest, with trust relationships for pentesting and sysadmin practice.
Red Team / Blue Team Simulations: Build both attack and defense environments, Practice complex attack and complex implementation, SOC monitoring, and detection.
Cloud Simulations: Run Kubernetes, Docker, and other cloud-native tools in test labs.
Homelab Networking: Integrate with physical Networking hardware (like router, switch, firewall) to simulate enterprise-grade VLAN setups.
Enable Virtualization in BIOS/UEFI: Ensure Intel VT-x/AMD-V and IOMMU are enabled.
Pass CPU Flags to Nested VMs: For Proxmox, expose host CPU type; for Hyper-V, enable nested virtualization via PowerShell.
Plan Resources Carefully: Assign enough RAM and CPU, but avoid starving your host.
Networking Tip: Use bridged networking and VLAN tagging to keep lab traffic organized.
Snapshots Are Your Friend: Always snapshot before major lab experiments.
Nested virtualization is more than just a cool trick — it’s a powerful tool for anyone serious about learning, testing, or simulating real-world environments. By running hypervisors inside virtual machines, you gain the ability to create highly flexible labs, replicate enterprise networks, and practice complex attack or defense scenarios — all from a single physical server.
Yes, it comes with performance trade-offs and hardware requirements, but the benefits far outweigh the limitations. For learners, it’s a game-changer. For professionals, it’s a cost-effective solution for testing and training.
If you’re serious about advancing in IT, cybersecurity, or systems engineering, consider setting up your own nested virtualization lab. Start small, optimize as you go, and soon you’ll have a powerful environment to practice, experiment, and push your skills further.